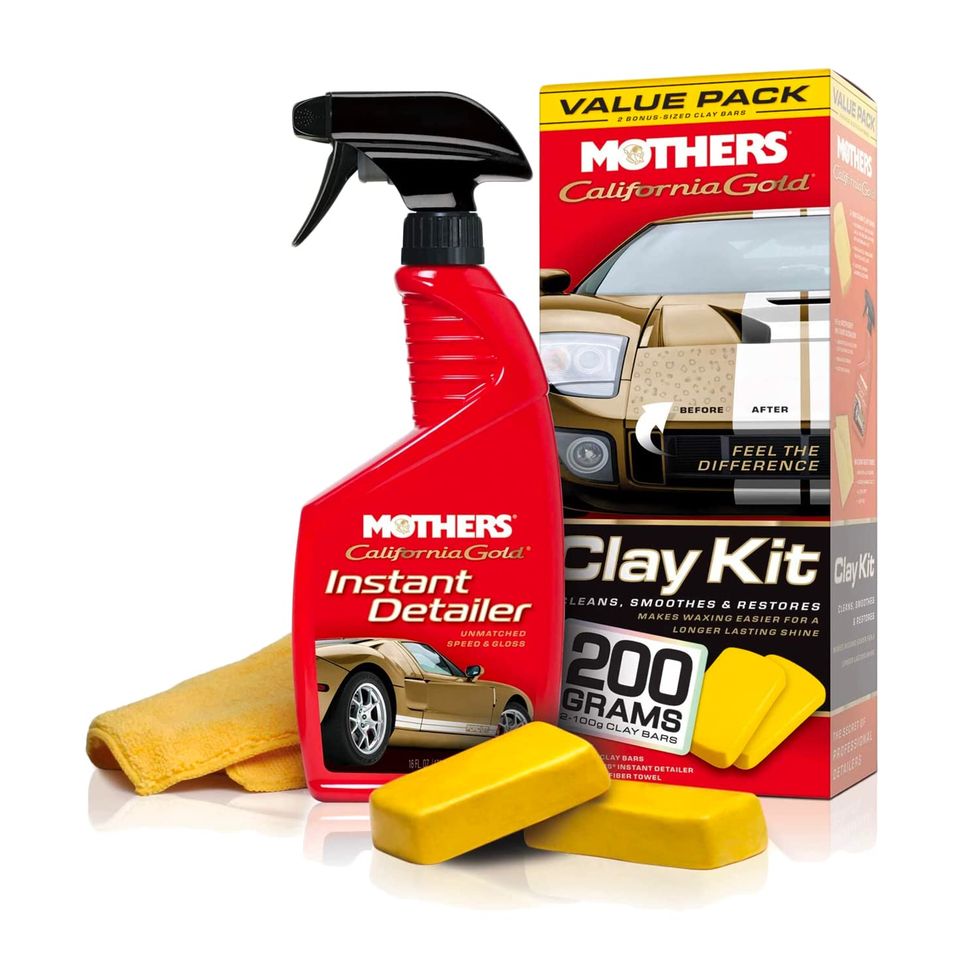
What Is Clay Barring and Why Your Car Needs It
If you’re serious about keeping your car’s paint looking glossy and smooth, clay barring should be part of your detailing routine. Even after a thorough wash, your car’s surface may still feel rough or look a little dull. That’s because contaminants like brake dust, tree sap, road tar, and industrial fallout can stick to the paint and won’t come off with regular soap and water.
That’s where clay barring comes in.
Clay barring is a process that removes those stubborn particles from your car’s paint, leaving the surface silky smooth and ready for wax, polish, or sealant. It’s a game-changer for anyone who wants to take their detailing results to the next level.
Traditional vs. Modern Clay Bars
Clay bars used to come only as soft, pliable blocks of detailing clay that you’d knead and fold over as they picked up grime. They still work great, but now there are newer options—like clay mitts and clay sponges—that are easier to grip and can simply be rinsed clean after use.
Which type should you use? It’s totally up to you. All of them work well—as long as you use one.
How to Clay Bar Your Car: Step-by-Step
Clay barring isn’t complicated, but it’s important to do it right to avoid scratching your paint. Here’s a simple guide:
Step 1: Wash & Dry
Start with a clean car. Wash it thoroughly using car shampoo, then dry it completely with a microfiber towel.
Step 2: Prep the Clay
If you’re using a traditional clay bar, break off a small piece and knead it until it’s soft and easy to handle.
Step 3: Lubricate the Surface
Spray a clay lubricant or quick detailer onto a small section of the paint. This is essential to help the clay glide smoothly without damaging the surface.
Step 4: Glide the Clay
Gently rub the clay across the lubricated area in straight, back-and-forth motions. Don’t press too hard—let the clay do the work. You’ll feel it picking up contaminants as you go.
Step 5: Fold & Knead
As the clay gets dirty, fold it over and knead it to expose a clean side. Keep going section by section.
Step 6: Wash & Dry Again
Once you’ve clay-barred the entire car, give it a quick rinse and dry it again to remove any leftover residue.
Step 7: Protect the Paint
Finish by applying a good wax or sealant. This locks in the clean surface and adds protection and shine.
Final Thoughts
Clay barring may take a little extra time, but the payoff is huge: a super-smooth finish and a paint surface that’s primed for protection. Whether you’re prepping for a full detail or just want that “like new” feel, this step shouldn’t be skipped.
Have you tried clay barring your car before? Let us know in the comments, and feel free to share your favorite clay products or techniques!
****************
Our Top Pick
How to video


No comments:
Post a Comment